How to install the macOS Catalina Beta alongside Mojave
⭐️ a blog post
I’m sure you are interested in playing with SwiftUI just like I am, but you are also hesitant to install the latest macOS Beta because it will surely mess up homebrew and generally cause inconvenience. Even more, the live UI previews in XCode only work when running XCode inside the beta macOS…
If you have a recent Mac with an APFS formatted drive then you can easily create a little area for the Beta without changing anything about your current setup.
APFS supports multiple “volumes” in the same “container.” A new volume can be created super quick on the fly, can be flexible in it’s size (with min/max settings on the GB reserved/used), and a “container” (think drive) shares all it’s space with all it’s volumes so you don’t have to know ahead of time how much space each volume really needs.
Below are the simple steps to create a volume, install macOS Mojave on it, then upgrade that volume’s OS to Catalina.
1. Create a volume
Search using Spotlight (⌘ space) for Disk Utility and open it. Make sure your primary hard drive is selected in the left sidebar, then click the Plus icon in the toolbar to add a volume.
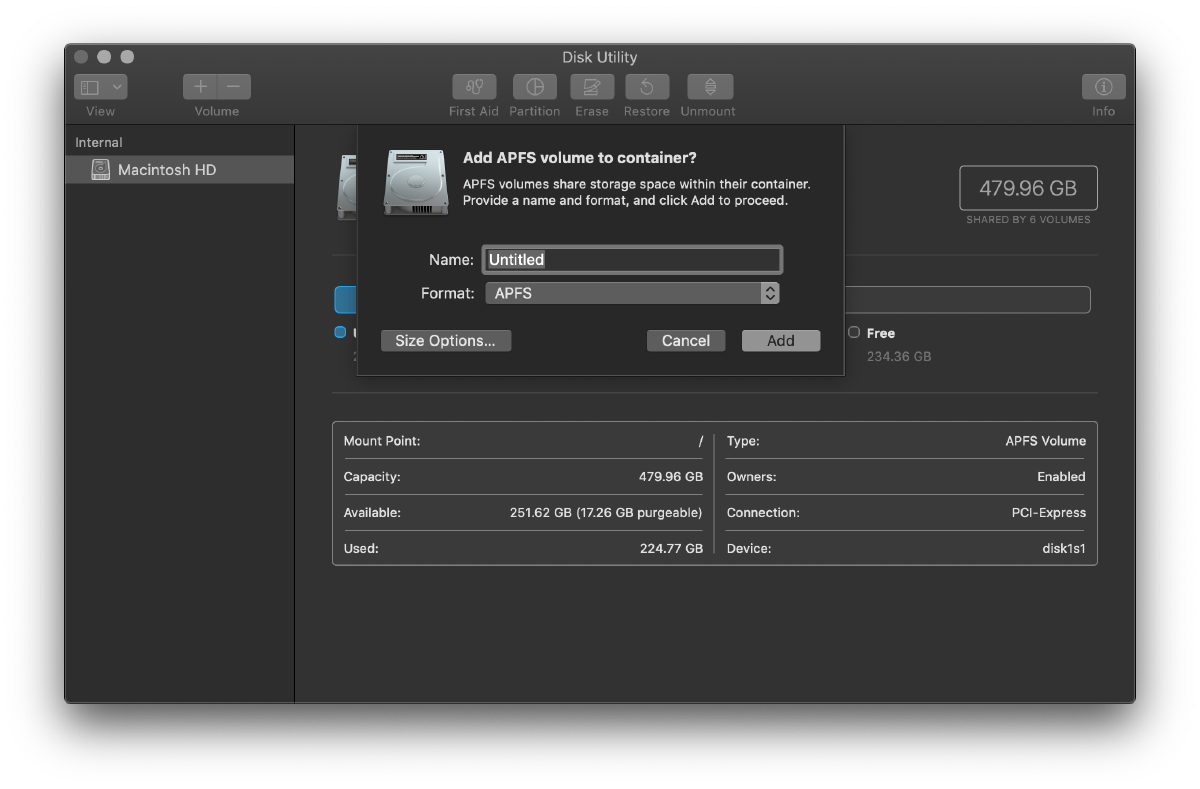
You can choose to set Size Options… to set a minimum reserve and a maximum usage for the volume. You will need at least 30 GB of space to get the macOS beta + XCode Beta installed with some wiggle room. I set my Beta volume to reserve at least 20GB and restrict to a maximum of 100GB.
2. Install macOS Mojave
One cannot install macOS Catalina directly: instead, one must upgrade from Mojave. Even if you are currently running macOS Mojave, you will need to download the macOS installer to use with the new volume.
Using Spotlight (⌘ space) again, search for App Store and open it. Search the App Store for macOS and find the page for Mojave.
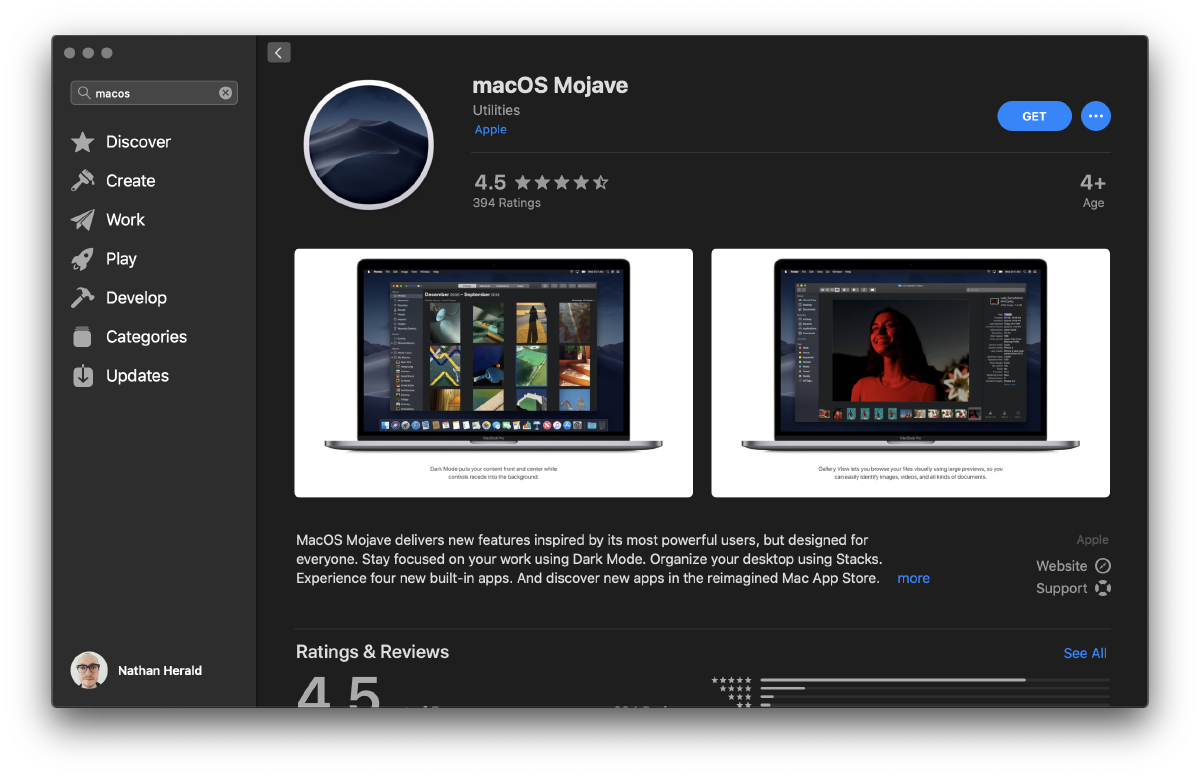
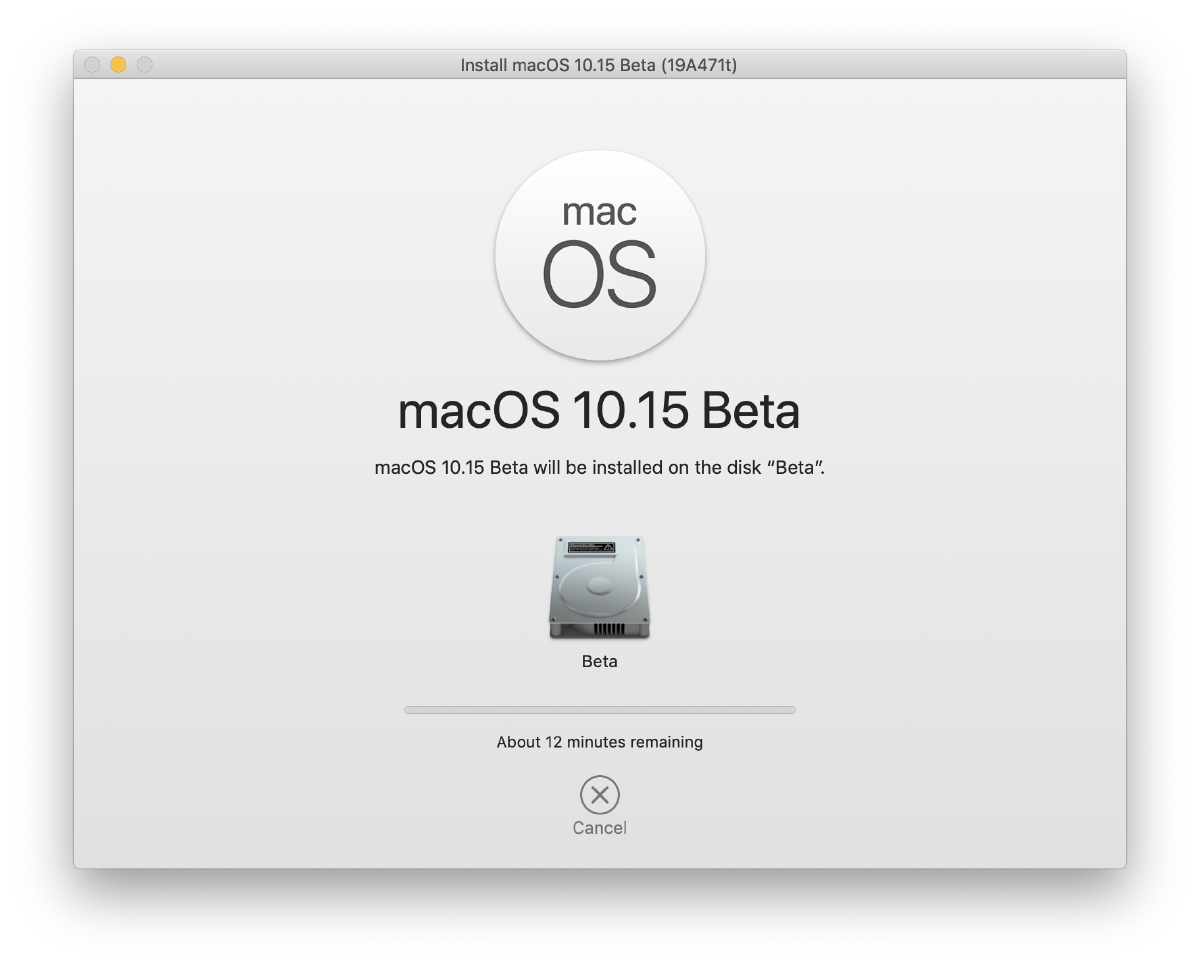
Click Get and it will open the Software Update preference pane in System Preferences. Let it download the huge installer and it will eventually present you with the below Installer window. This will take a while…
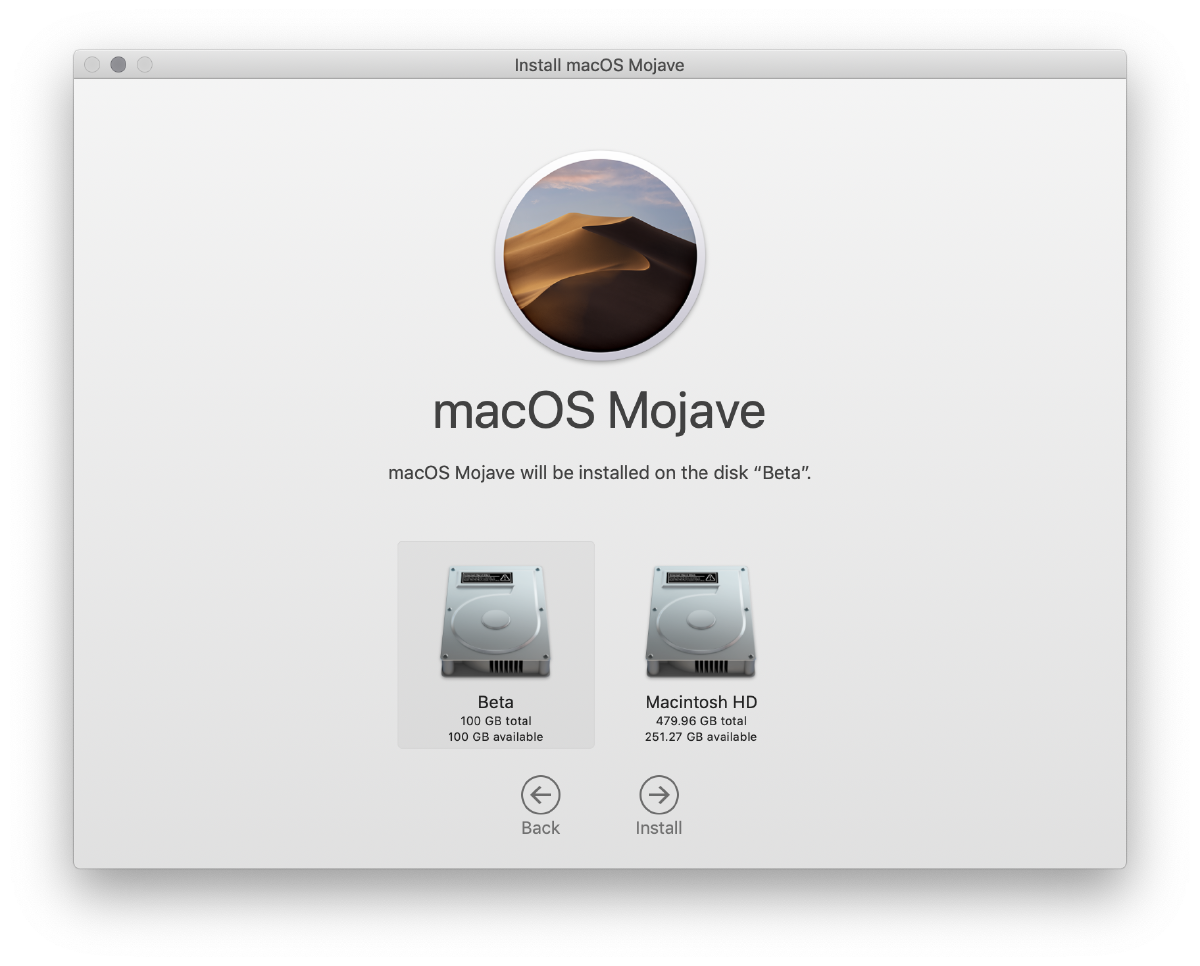
Be sure to choose the new volume and proceed to install.
This will take a while…
3. Install macOS Catalina
After installation is done and you’ve setup your new “computer” you will need to navigate to the Apple Developer Downloads page to install the beta.
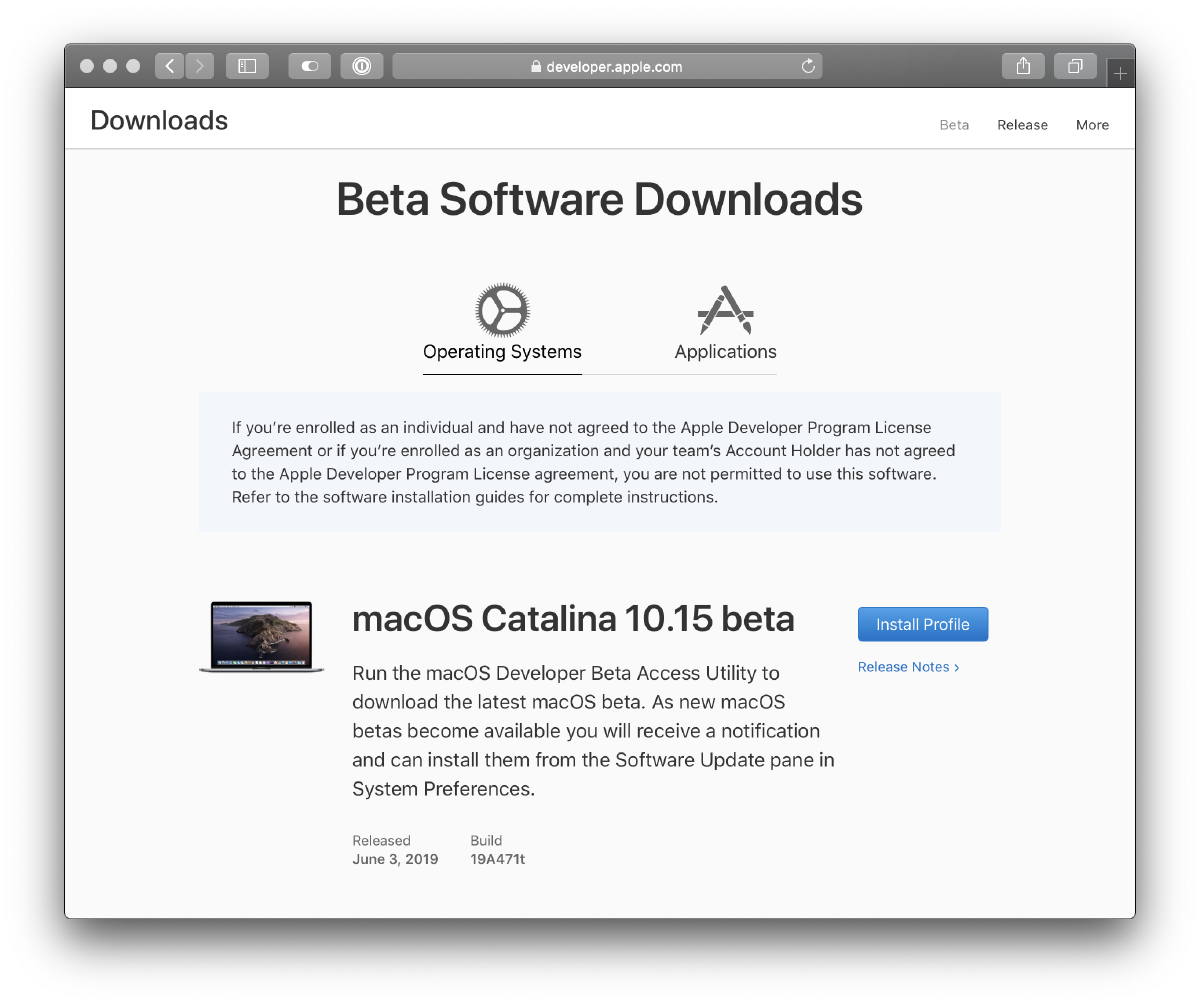
Choose Install Profile which will open the Software Update preference pane of System Preferences again. This time, it will offer to download an installed for the macOS 10.15 Beta (which is Catalina).
Install (download) it and it will eventually present an installation window.
This will also take a while…
You can still access your other volume from inside the macOS Catalina beta, so there isn’t any reason to copy over all your files or anything. This is great if you have an XCode project you want to work on or test out from the beta, but don’t want to have to transfer files all the time.
I recommend installing applications separately onto Catalina and not trying to run applications from the Applications directory of the other volume.
Download the XCode Beta and go create a new macOS or iOS project using SwiftUI. You choose to use SwiftUI either as a checkbox or dropdown in the New Project sheet.

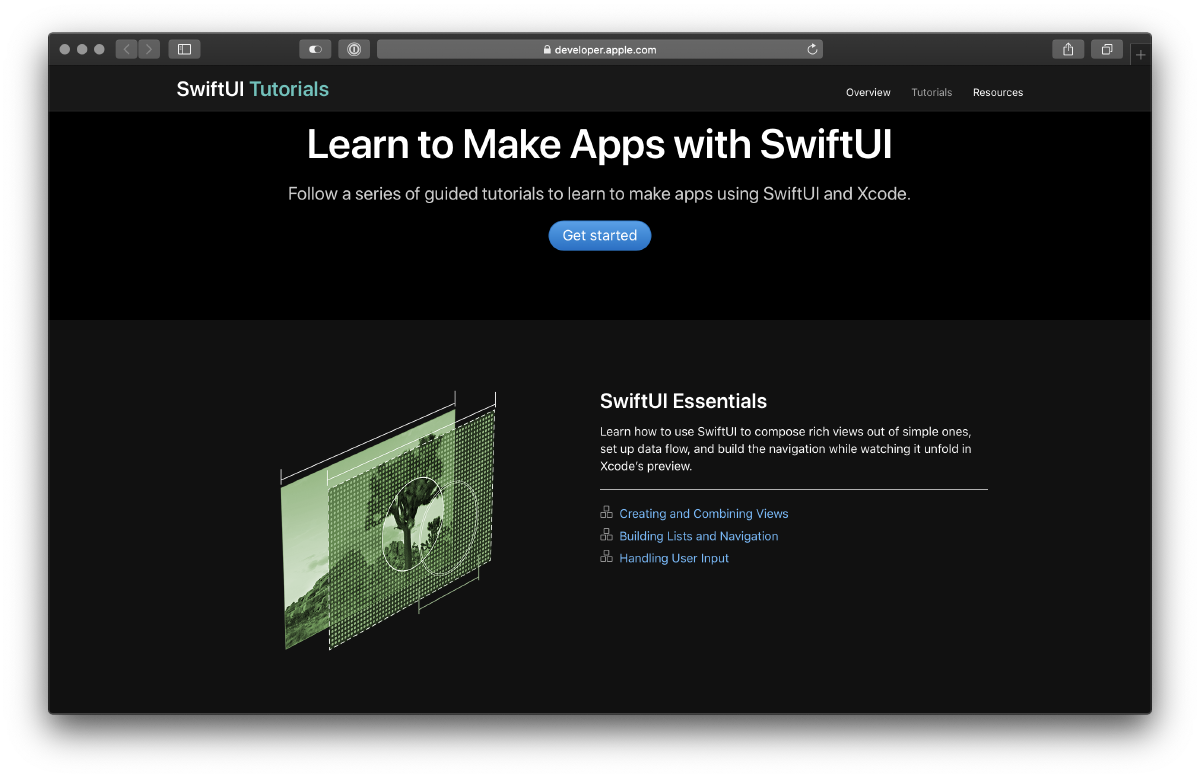
4. Learn about SwiftUI
I recommend going through the wonderful SwiftUI Tutorials published by Apple. They walk through a ton of good stuff and cover a lot more than the basics. I really enjoyed going through it.
5. Restart into Mojave
You can restart back and forth between the OS’s anytime using the Startup Disk preference pane in System Preferences.
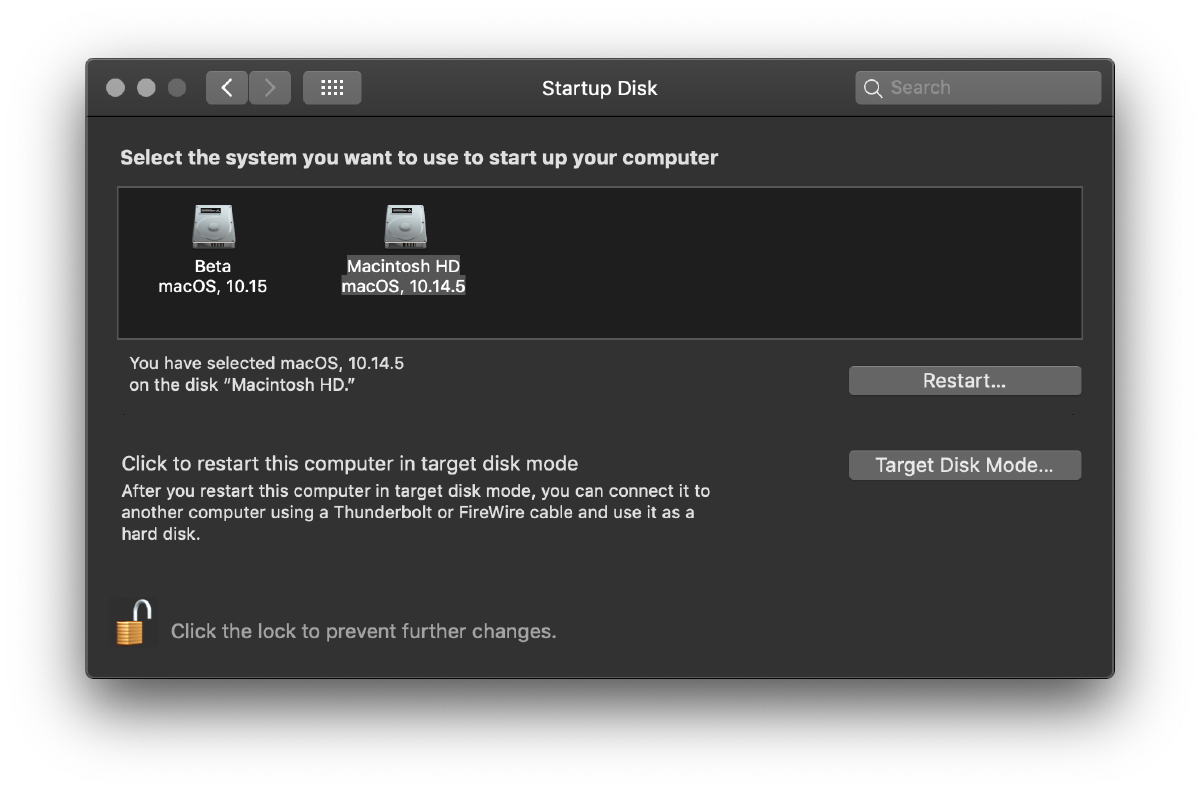
You can also keep ⌥ option pressed when the computer is booting which will tell the computer to enumerate the bootable volumes and let you click which one to boot into.
That’s it
Good luck. Comment if I got anything wrong. And have fun with SwiftUI, Combine, and the new live UI previews in XCode. 🤖